How to transfer a photo to a piece of wood - fun, easy, and inexpensiveI love taking pictures and trying out new things with photography. My blog is a reflection of that. Instead of posting boudoir photo shoot after boudoir shoot, I try to add some fun projects that fellow photographers and non photographers can do. In this blog post I will show you how to transfer a photo printed on paper to a piece of wood. The final product is a cool vintage looking print on wood. This DIY photography project is inexpensive, extremely fun, and easy to do. 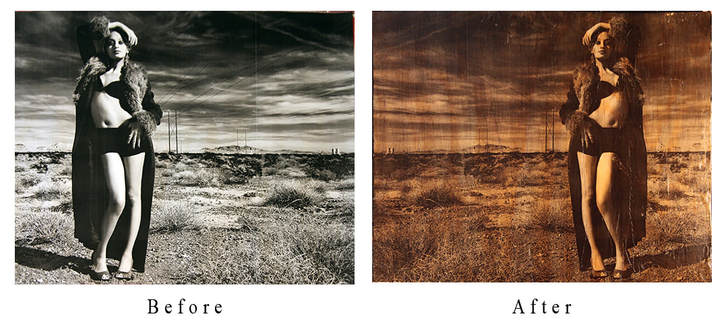 Supplies Needed:
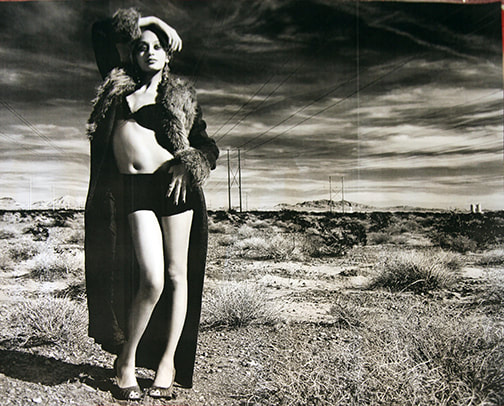 Step One: Select And Edit Your Image I selected a black and white photo that I thought may look interesting with the grungy vintage look that this project produces. I opened the image in a photo editor and increased the contrast and brightness a little. Also, if you have a photo with text in it or want the image to display on the wood as you see it on the computer, you will want to "flip" the image. This is done because the final image will be reversed on the wood. A free online photo editor you can try is: http://pixlr.com/ You can also convert your color photos to black and white using that site as well. Save your photo to a thumb drive if you are not going to print it from home. Step Two: Get Your Photo Printed And Buy Some Wood The print NEEDS to be done on a LASER PRINTER with plain white paper, NOT an ink jet printer. You can find laser printers at libraries, school, office supply stores, or even at your place of employment. I wanted a large print (25x20) so I took my thumb drive to Staples and had them make the print. It was cheap, only a couple bucks. Next, I went to Home Depot to buy some wood. They have an area in the store where they sell scraps. I found a large piece of wood that was fairly smooth and undamaged. It only cost me 59 cents. They do not cut scrap wood for you there, so you may need a saw to cut it down to the size you need. Also, when selecting your wood, don't buy a very thin piece. The wood may warp when you put water on it (in step 5). 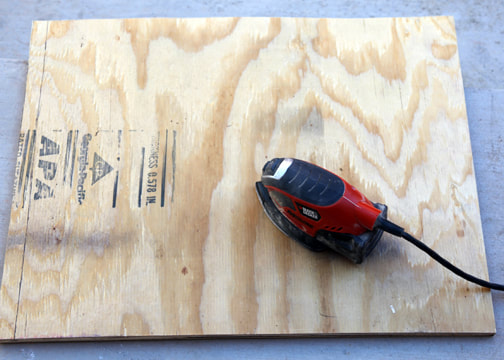 Step Three: Prep The Wood Examine the wood for any stains and rough areas. You will want to sand these spots down to remove the defects. My piece of wood had the companies stamp on it, so I had to sand it off so it would not show through my print. Once you are done sanding the wood, get a wet rag and remove the dust from the wood. Step Four: Transfer The Print Apply the acrylic gel medium to the wood. I used a foam brush, but you could use you hand if you like. Apply the gel medium evenly over the wood. Do not put it on too thin, nor too thick. Once the wood is covered, place your paper print on top of it, print side down, and smooth it out. I used a full can of soda to "roll" out the air bubbles and smooth out the image. After the paper is completely smoothed out and you are satisfied with the results, clean up the excess gel medium and put it back in the container. Let the paper print dry onto the wood overnight. 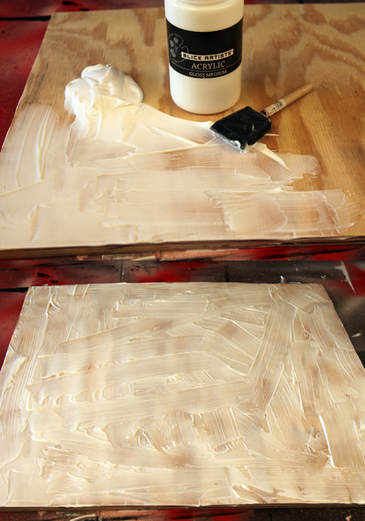 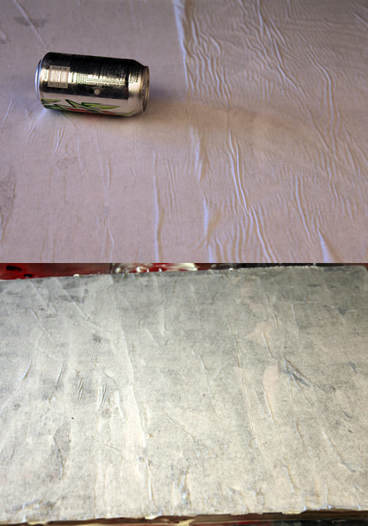 Step Five: The Results This is the fun part. Get the paper wet with water. You can use a damp rag and lay it on the paper or squeeze water from it onto the paper. Give the water a minute to absorb into the paper, then start rubbing the paper away. You can use your fingers or a damp rag. Don't rub extremely hard or you might remove the actual photo from the wood. Once you remove all the paper, let it dry in the sun or in front of a fan for a few minutes. You will notice a thin layer of paper remaining. Repeat this process until the paper is gone. 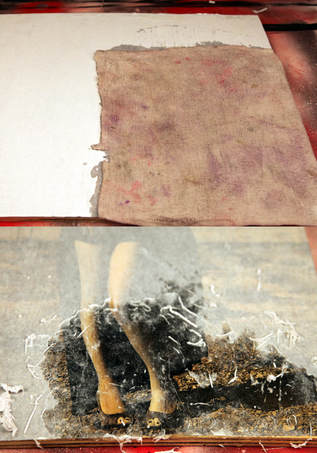 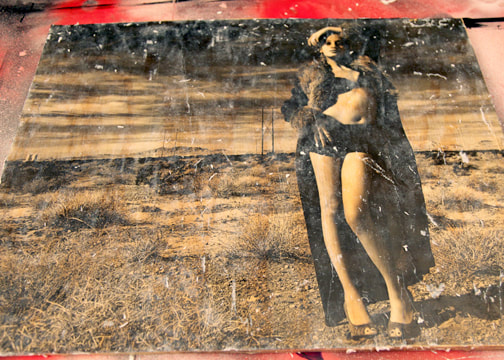 Step Six: Stain and Seal This step is completely optional, but your image will look a whole lot better if you do it. I purchased the wood satin and sealer at the same hardware store I got the wood from. Pick whatever color of stain you want to use. I already had a can of Minwax ebony that I used from a previous project, so I went with that color. Apply the wood stain with a brush to a small area and wipe it off with a rag within a few seconds. The longer you leave the stain on, the darker it gets. Continue applying and wiping the stain to the remainder of the image. Repeat this process if you want it darker. When you are satisfied with the color, let the wood stain dry completely. 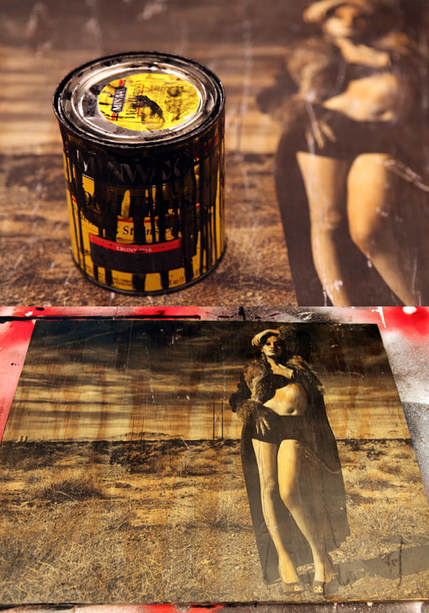 Now it is time for the sealer. You can choose either a glossy or satin finish sealer depending on how shiny or matte you want the image to look. I went with the satin finish. Use a clean brush and apply the sealer. This needs to be done in a well ventilated area. Brush the sealer onto the entire photo and let it dry. Repeat if necessary. Now you photo is sealed completely transferred to wood. You can add a hanging kit to the back of the wood if you want to hang the artwork on the wall. 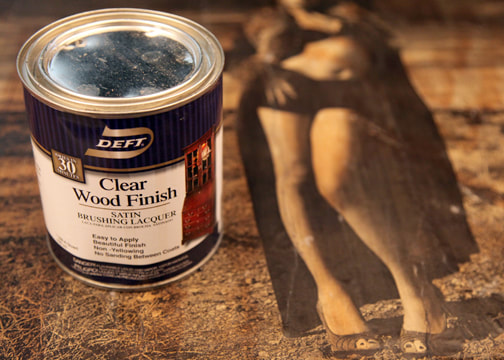 Conclusion I absolutely love this do it yourself project. Transferring a photo to a piece of wood was extremely fun, cheap, and easy to do. Best of all, the final product looks amazing. As with most things, practice makes perfect. Try on a smaller piece of wood and get a feel for the process before starting on your 30x36 masterpiece. 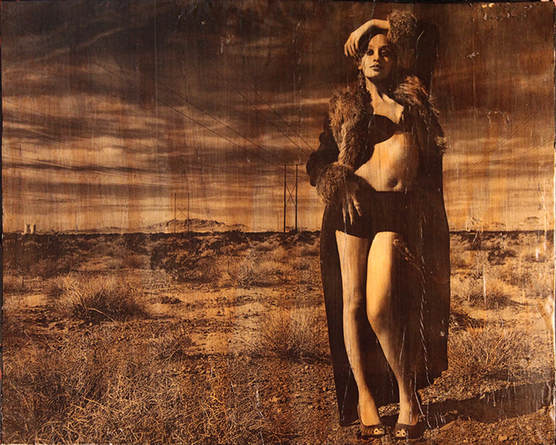 This project is very time consuming. Also, if you do not have any of the materials like the acrylic gel medium, stain, and sealer, the up-front cost may seem high. The more prints you make, the cheaper it will be since you will only have to buy the print and wood.
If you are in the Las Vegas area and would to have this service done, please contact me for rates. Thanks and enjoy!
1 Comment
Your comment will be posted after it is approved.
Leave a Reply. |